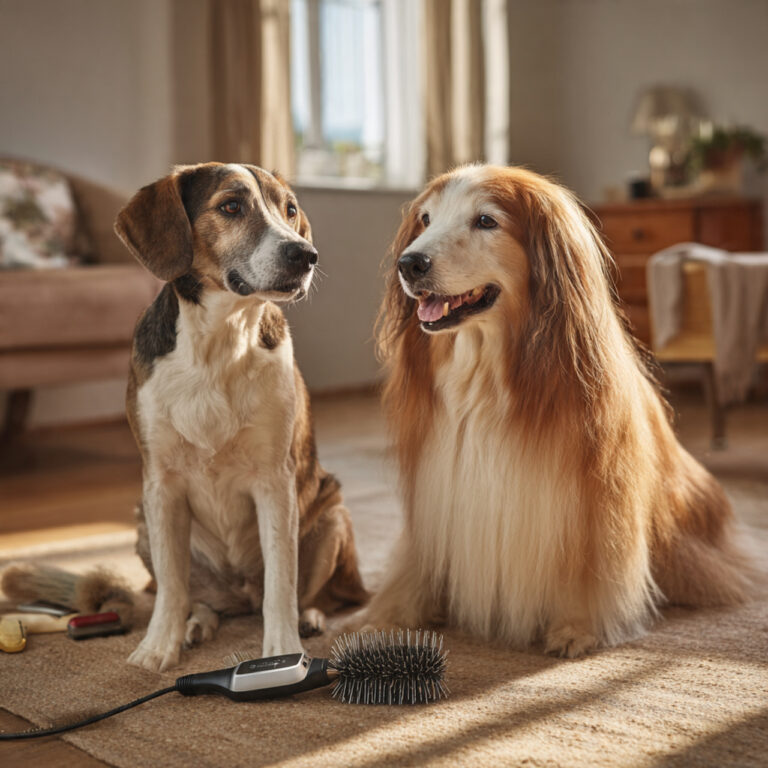
How to Safely Trim Your Dog’s Nails Without Assistance
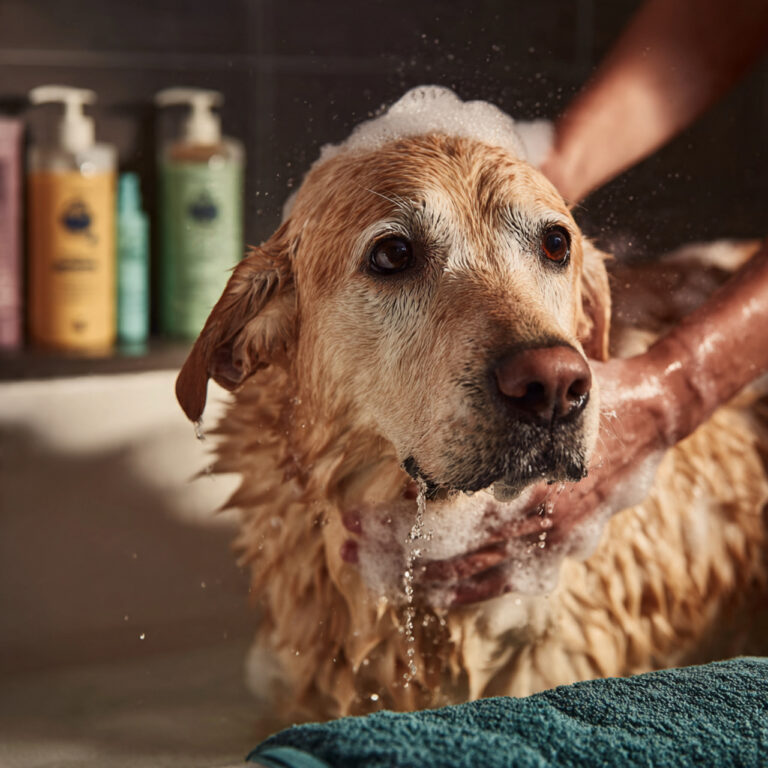
Trimming your dog’s nails by yourself can feel intimidating, especially the first few times. Many dog owners avoid it because they worry about hurting their dog or doing it wrong.
I felt the same way at first. With patience, practice, and a calm approach, trimming your dog’s nails at home becomes manageable and far less stressful.
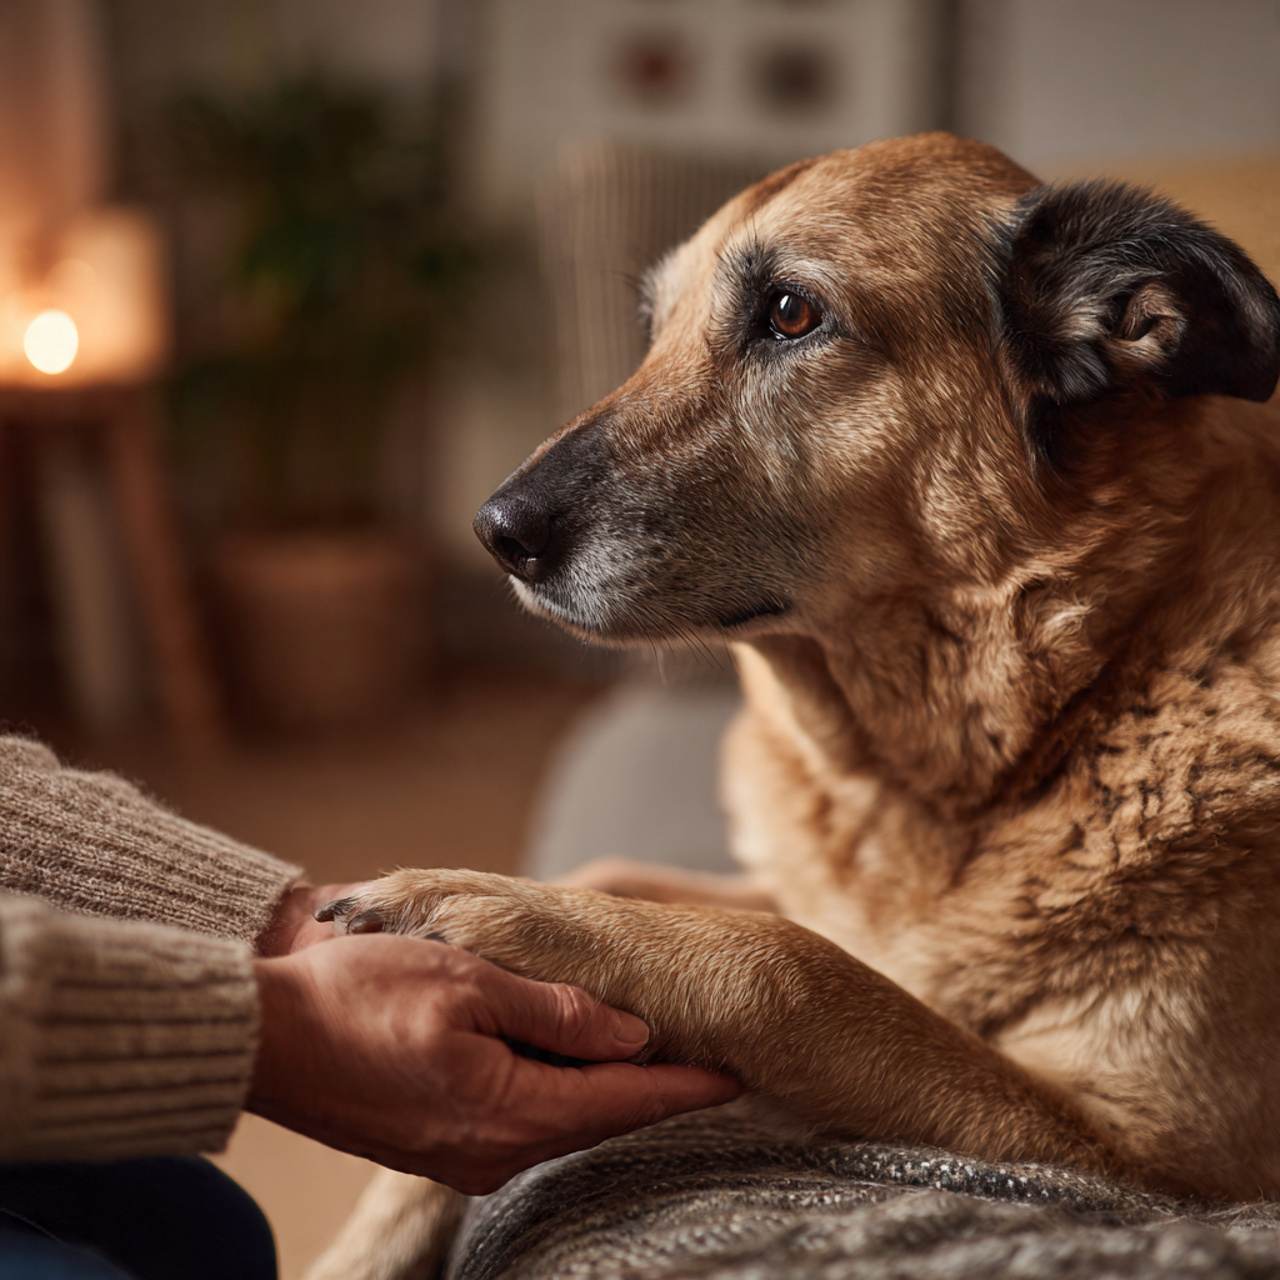
Tip 1: Getting Your Dog Comfortable With Paw Handling
Before trimming ever begins, your dog needs to feel safe with their paws being touched. Many dogs react strongly because their paws are sensitive and unfamiliar handling makes them nervous.
I learned early that rushing straight into nail trimming almost always fails. Comfort comes first, and it takes repetition, not force.
Start by touching your dog’s paws during calm moments. While sitting on the couch or during quiet time works best. Keep your touch light and relaxed.
If your dog pulls away, stop and try again later. Pushing through discomfort builds fear and makes future attempts harder.
Over time, increase how long you hold each paw. Gently spread the toes, then release and praise your dog.
Helpful ways to build comfort include:
- Touching paws briefly every day
- Pairing paw handling with treats
- Speaking softly and staying calm
Once paw handling feels normal, nail trimming becomes much easier.
Tip 2: Positioning Your Dog Safely While Trimming Alone
Positioning matters more than people realize. When you are trimming alone, your dog needs to feel supported without feeling trapped.
I found that awkward positions made my dog tense and wiggly. A comfortable setup changed everything.
Small dogs often do best sitting on your lap or on a table with a non-slip mat. This keeps them steady and close.
Medium and large dogs usually feel safer sitting or lying on the floor. Forcing them onto furniture can increase anxiety.
Your goal is stability, not restraint. Hold your dog gently, keeping one hand free to trim.
Safe positioning tips:
- Choose a quiet, familiar space
- Use a towel or mat to prevent slipping
- Keep your body relaxed and steady
If your dog keeps shifting, pause and reset instead of forcing the position.
Tip 3: How to Trim Dog Nails Step by Step
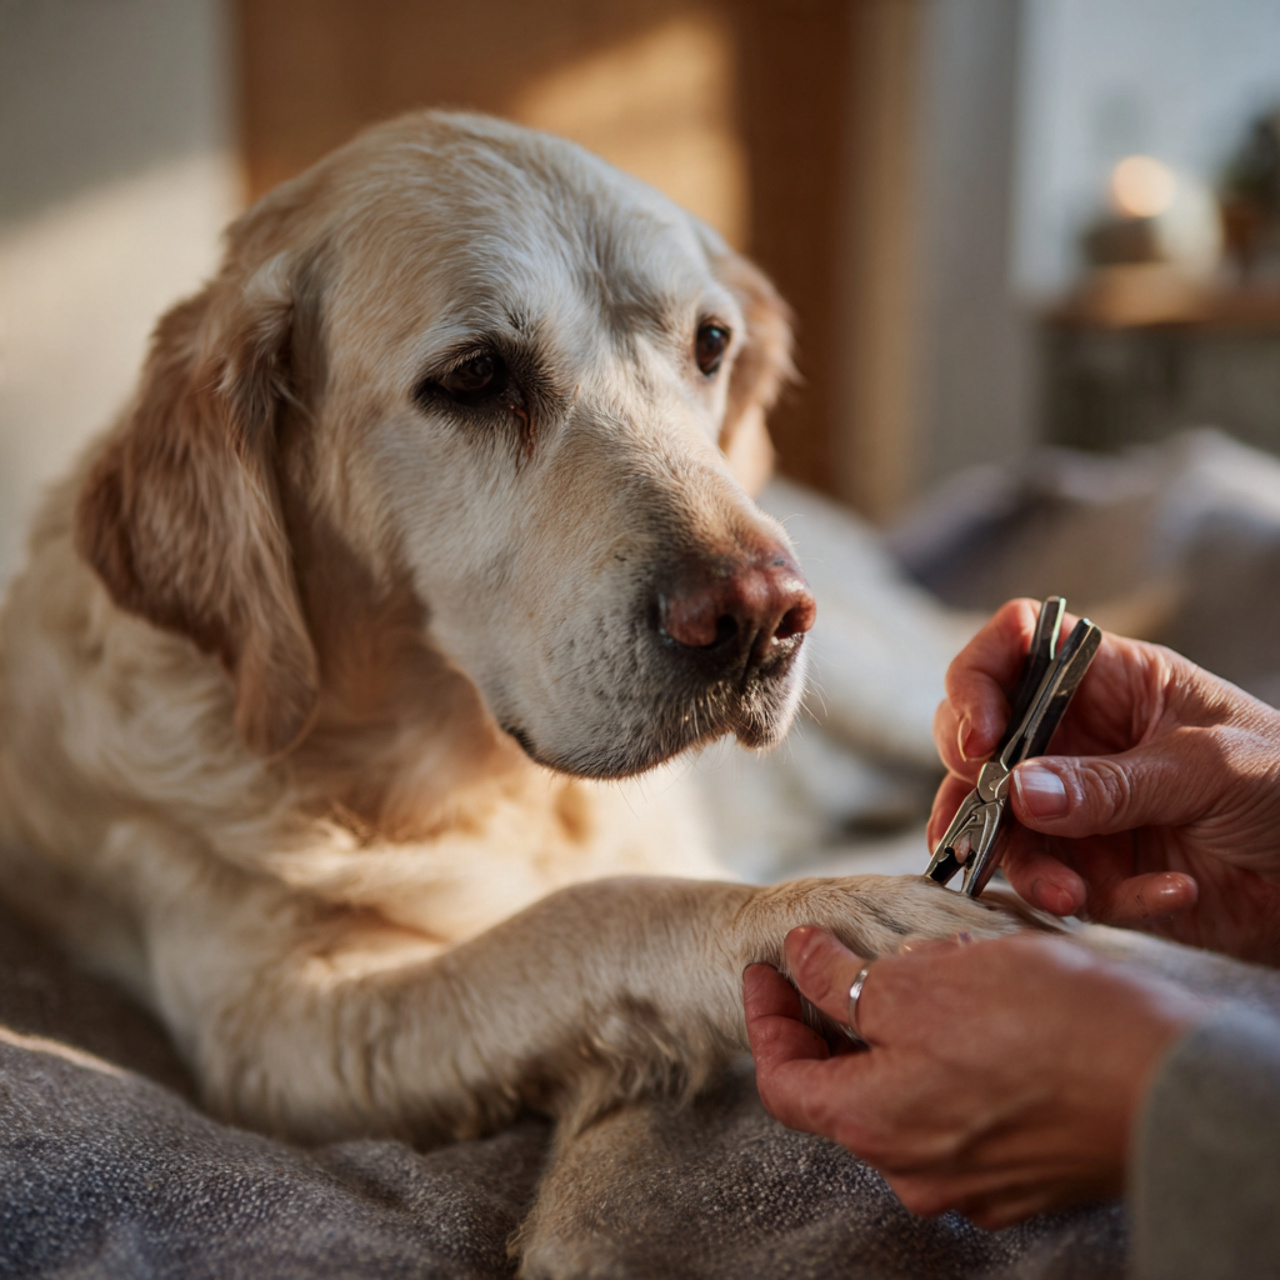
Once your dog is calm and positioned well, trimming becomes a simple process when done slowly and carefully.
Hold the paw firmly but gently. Isolate one nail at a time so you can clearly see where you are cutting.
Trim small amounts only. Cutting too much at once increases the risk of hitting the quick and causes unnecessary stress.
Cut at a slight angle, following the natural curve of the nail. This helps keep nails smooth and comfortable.
After each nail, release the paw and praise your dog. Small breaks help keep your dog relaxed.
Basic trimming steps to follow:
- Hold the paw gently
- Trim a small amount
- Praise and pause between nails
Going slow may feel tedious, but it prevents accidents and builds trust.
Tip 4: How to Safely Trim Black or Dark-Colored Nails
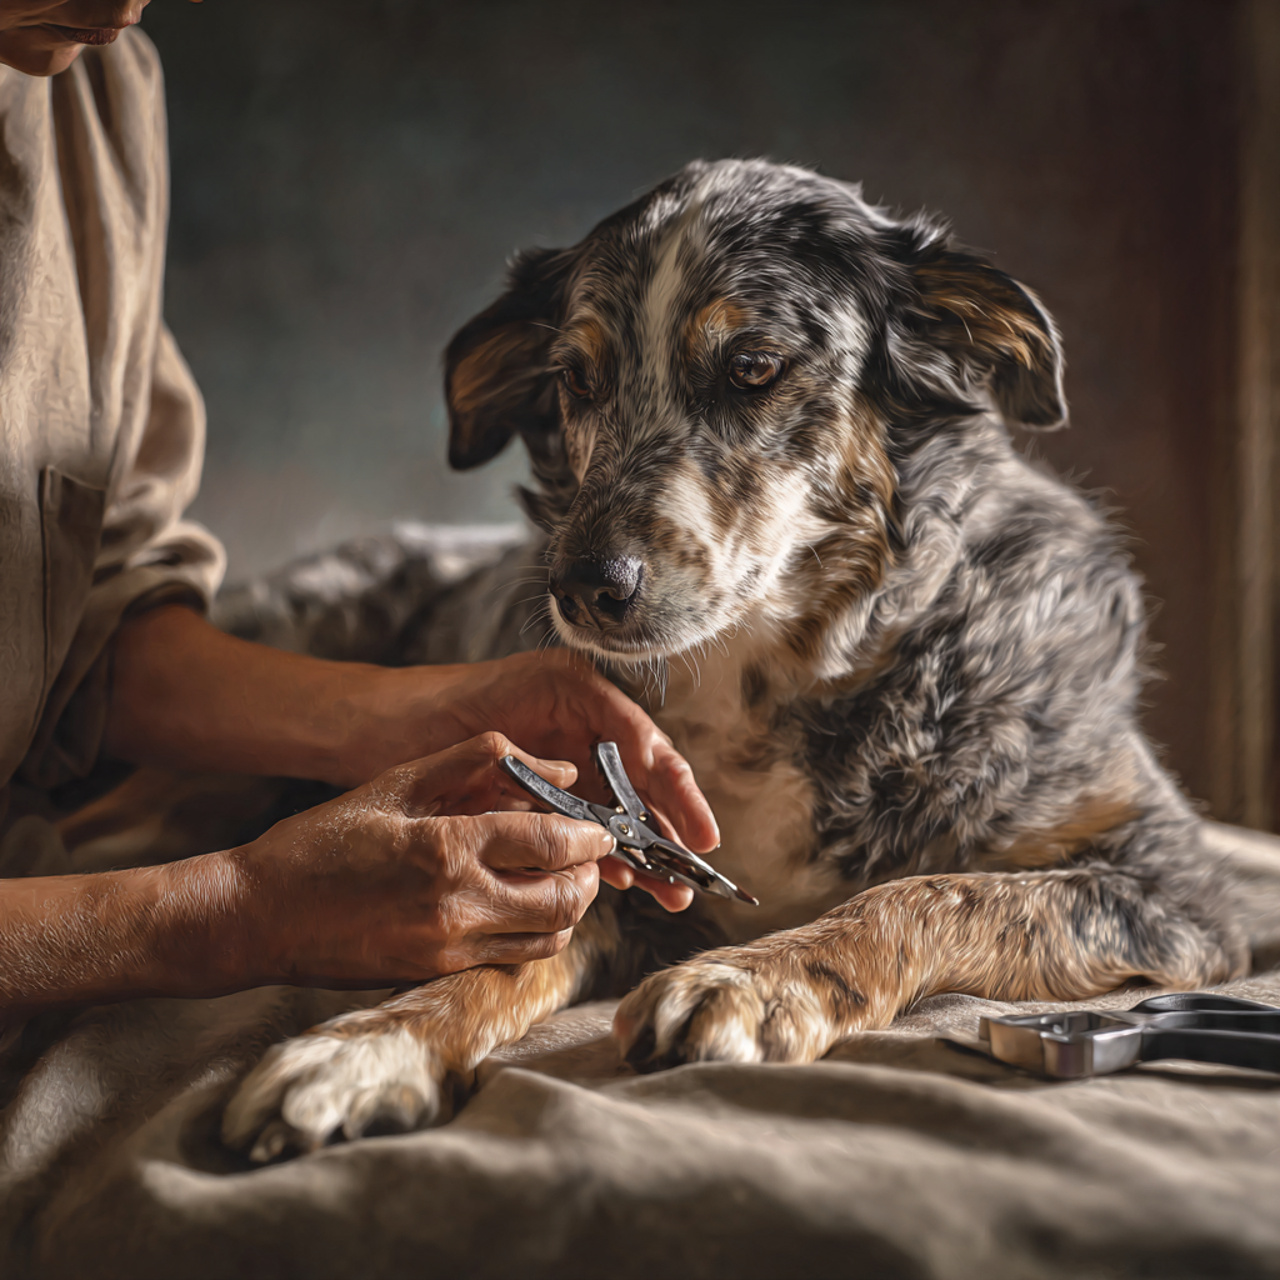
Black nails can feel scary because the quick is not visible. This used to be my biggest challenge.
Instead of relying on sight, you learn to rely on feel and patience.
Trim very small amounts at a time. After each cut, check the center of the nail. When it starts looking gray or chalky, you are getting close.
The nail will also feel slightly softer as you approach the quick. This is your sign to stop trimming.
Good lighting helps a lot. A flashlight pointed under the nail can sometimes reveal the quick faintly.
Helpful safety tips for dark nails:
- Trim tiny sections only
- Watch for texture changes
- Stop early rather than risk bleeding
With practice, trimming black nails becomes less stressful.
Tip 5: What to Do If You Accidentally Cut the Quick
Even with care, accidents can happen. Cutting the quick is upsetting, but staying calm makes a big difference.
If bleeding occurs, apply styptic powder or cornstarch immediately. Press gently until bleeding stops.
Your dog may react suddenly, so speak calmly and reassure them. Panic only increases their fear.
Once bleeding stops, give your dog a break. Do not continue trimming during the same session.
Aftercare matters too. Keep the area clean and avoid rough play for the rest of the day.
What to keep on hand:
- Styptic powder or cornstarch
- Clean paper towels
- Treats for calming
Most dogs recover quickly if handled calmly.
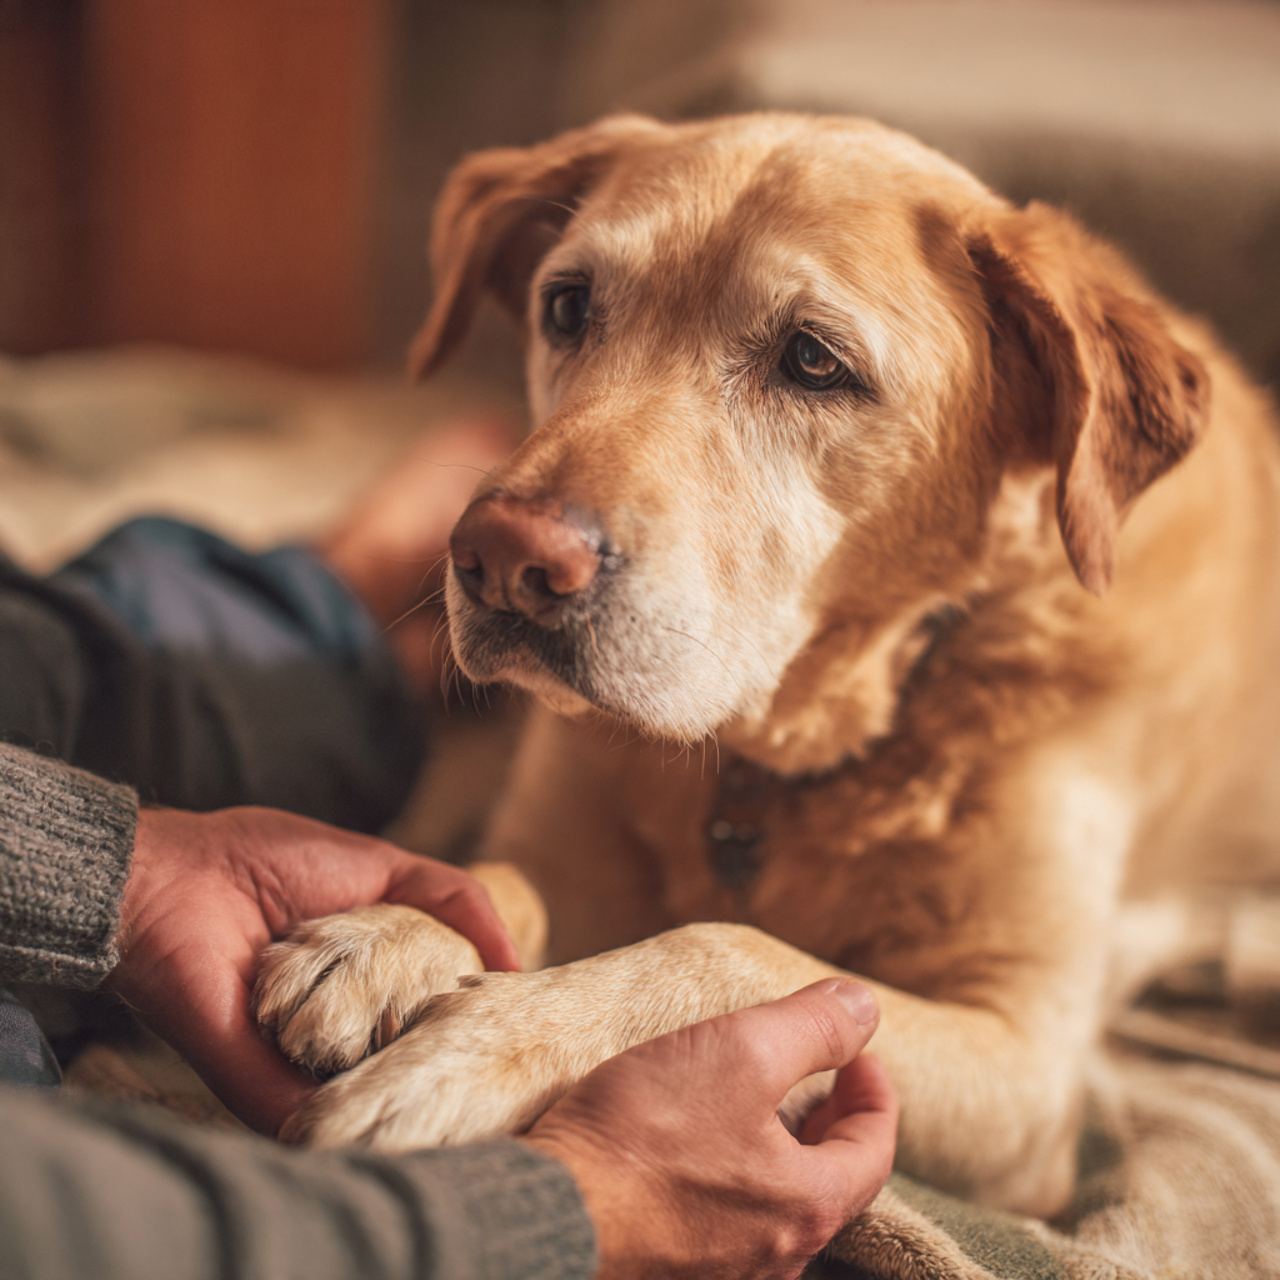
Tip 6: Managing Fear, Anxiety, and Resistance
Some dogs are naturally anxious about nail trimming. This does not mean trimming alone is impossible.
Fear often comes from past negative experiences or lack of exposure. Patience is more effective than restraint.
Break sessions into small steps. One paw or even one nail at a time is enough progress.
Use treats generously. Reward calm behavior rather than perfect stillness.
If your dog shows extreme stress, stop and try again another day. Trust builds slowly.
Signs to pause trimming:
- Heavy panting
- Pulling paws away
- Growling or freezing
Respecting these signals builds long-term success.
Tip 7: How Often to Trim Your Dog’s Nails
Knowing when to trim is just as important as knowing how.
Most dogs need nail trimming every three to four weeks. This varies depending on activity level and surface exposure.
Dogs that walk often on pavement may naturally wear nails down. Indoor dogs usually need more frequent trims.
If you hear nails clicking on the floor, they are too long. Overgrown nails affect posture and comfort.
Keeping nails short also reduces the quick length over time, making trimming safer.
Signs nails need trimming:
- Clicking sounds when walking
- Nails touching the ground while standing
- Visible curve at the tip
Regular trims prevent discomfort and injury.
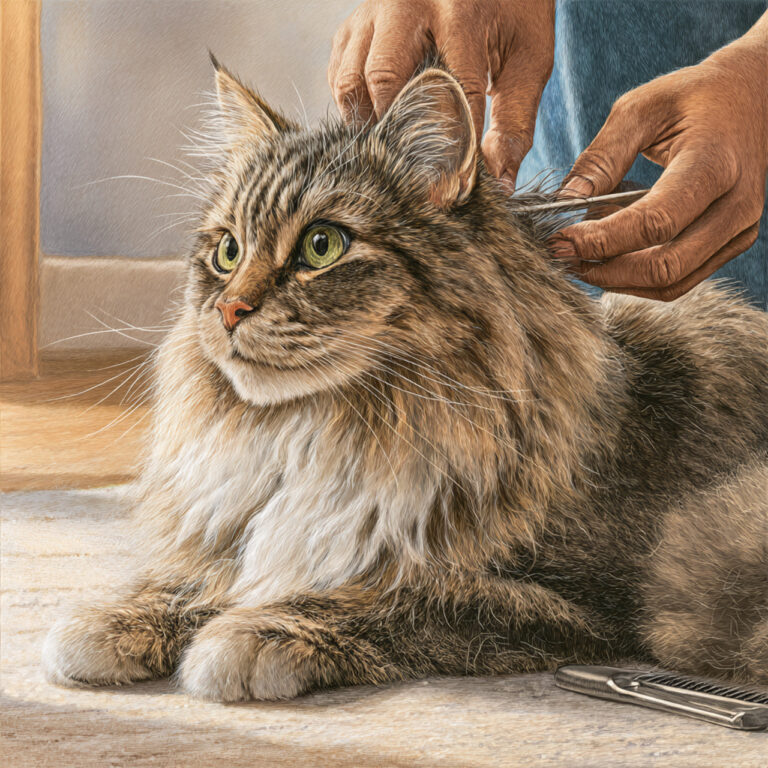
Tip 8: Nail Trimming Tips for Puppies and Senior Dogs
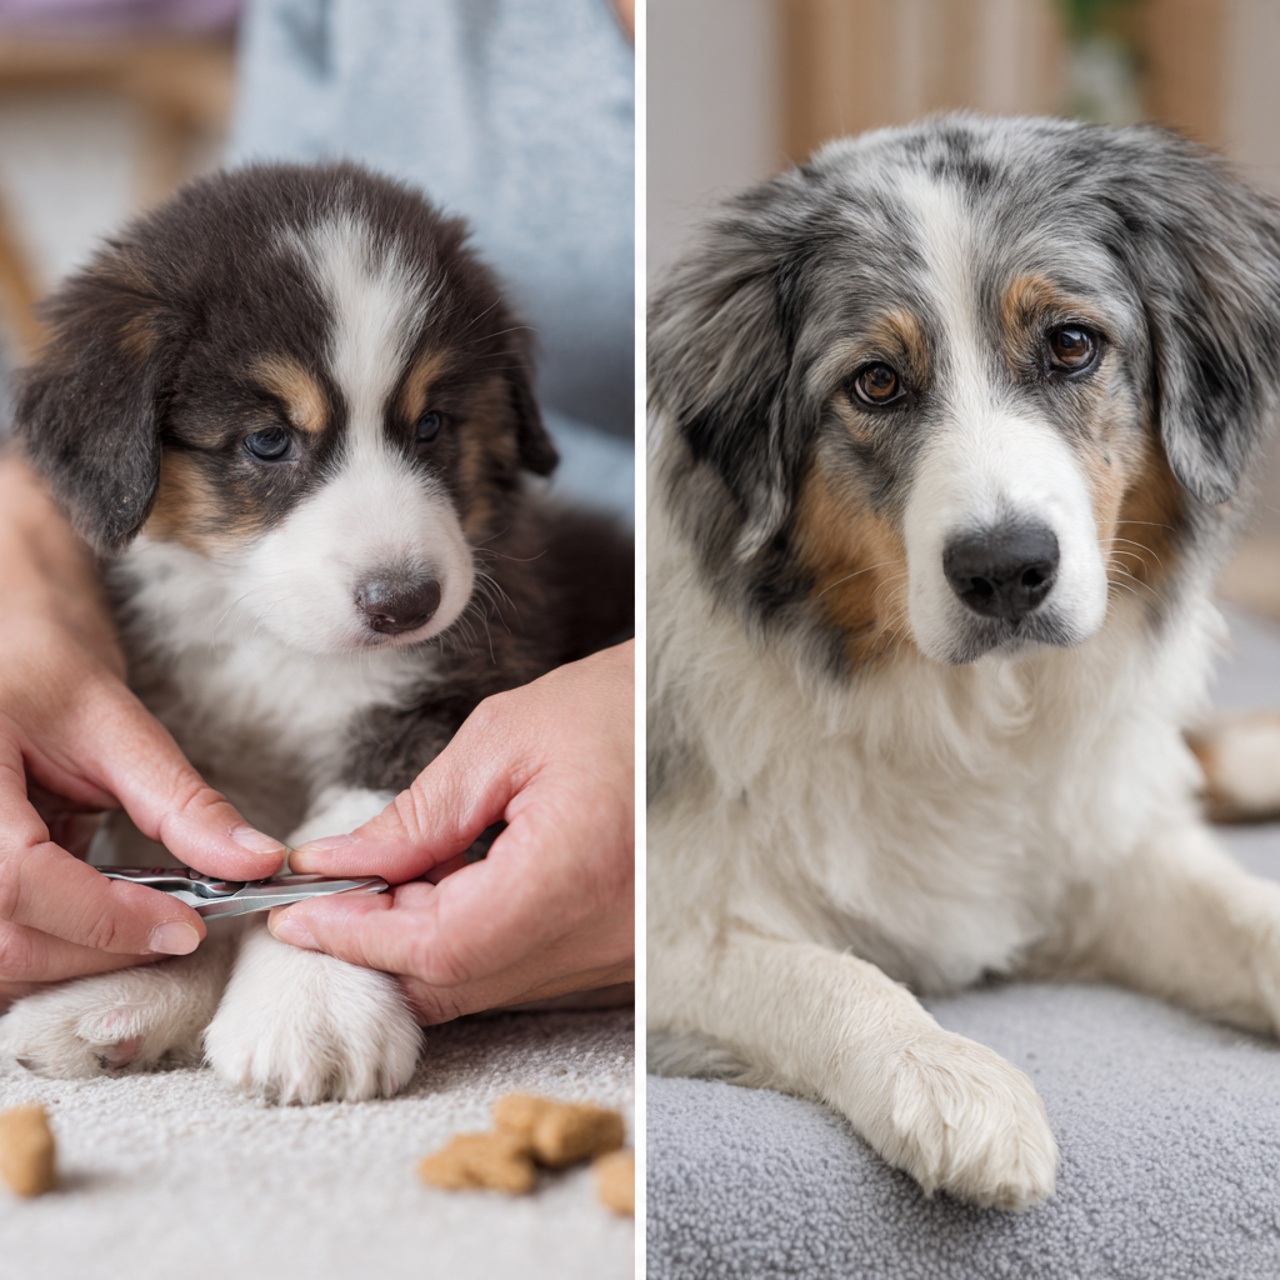
Puppies and senior dogs need extra consideration during nail care.
Puppies benefit from early exposure. Even touching paws and tapping nails with clippers builds familiarity.
Keep puppy sessions very short. One or two nails per session is enough at first.
Senior dogs may have thicker nails and joint stiffness. Positioning and gentleness matter even more.
Older dogs may also tire quickly, so frequent breaks help.
Special care tips:
- Keep sessions short
- Use sharp, clean tools
- Watch for signs of discomfort
Adjusting your approach keeps grooming stress-free.
Common Dog Nail Trimming Mistakes to Avoid
Mistakes are common, especially when trimming alone. Awareness helps prevent them.
One major mistake is trimming too much at once. Small cuts are safer and less stressful.
Another mistake is trimming when you are rushed or frustrated. Dogs sense tension and react to it.
Using dull or incorrect tools can crush nails and cause pain.
Mistakes to watch out for:
- Poor lighting
- Skipping paw handling practice
- Ignoring stress signals
Correcting habits improves every session.
Conclusion
Trimming your dog’s nails without help takes practice, patience, and confidence. With calm handling, small steps, and consistency, it becomes a safe routine that strengthens trust and keeps your dog comfortable and healthy over time.