Dog Grooming at Home: Step-by-Step Beginner’s Guide
Learning to groom your dog at home might seem intimidating at first, but it’s honestly one of the most rewarding skills you can develop as a dog owner.
Not only will you save hundreds (maybe thousands) of dollars over your dog’s lifetime, but you’ll also create special bonding moments and keep a closer eye on your dog’s health. Let’s walk through everything you need to know to get started.
1. Essential Grooming Tools Every Beginner Needs
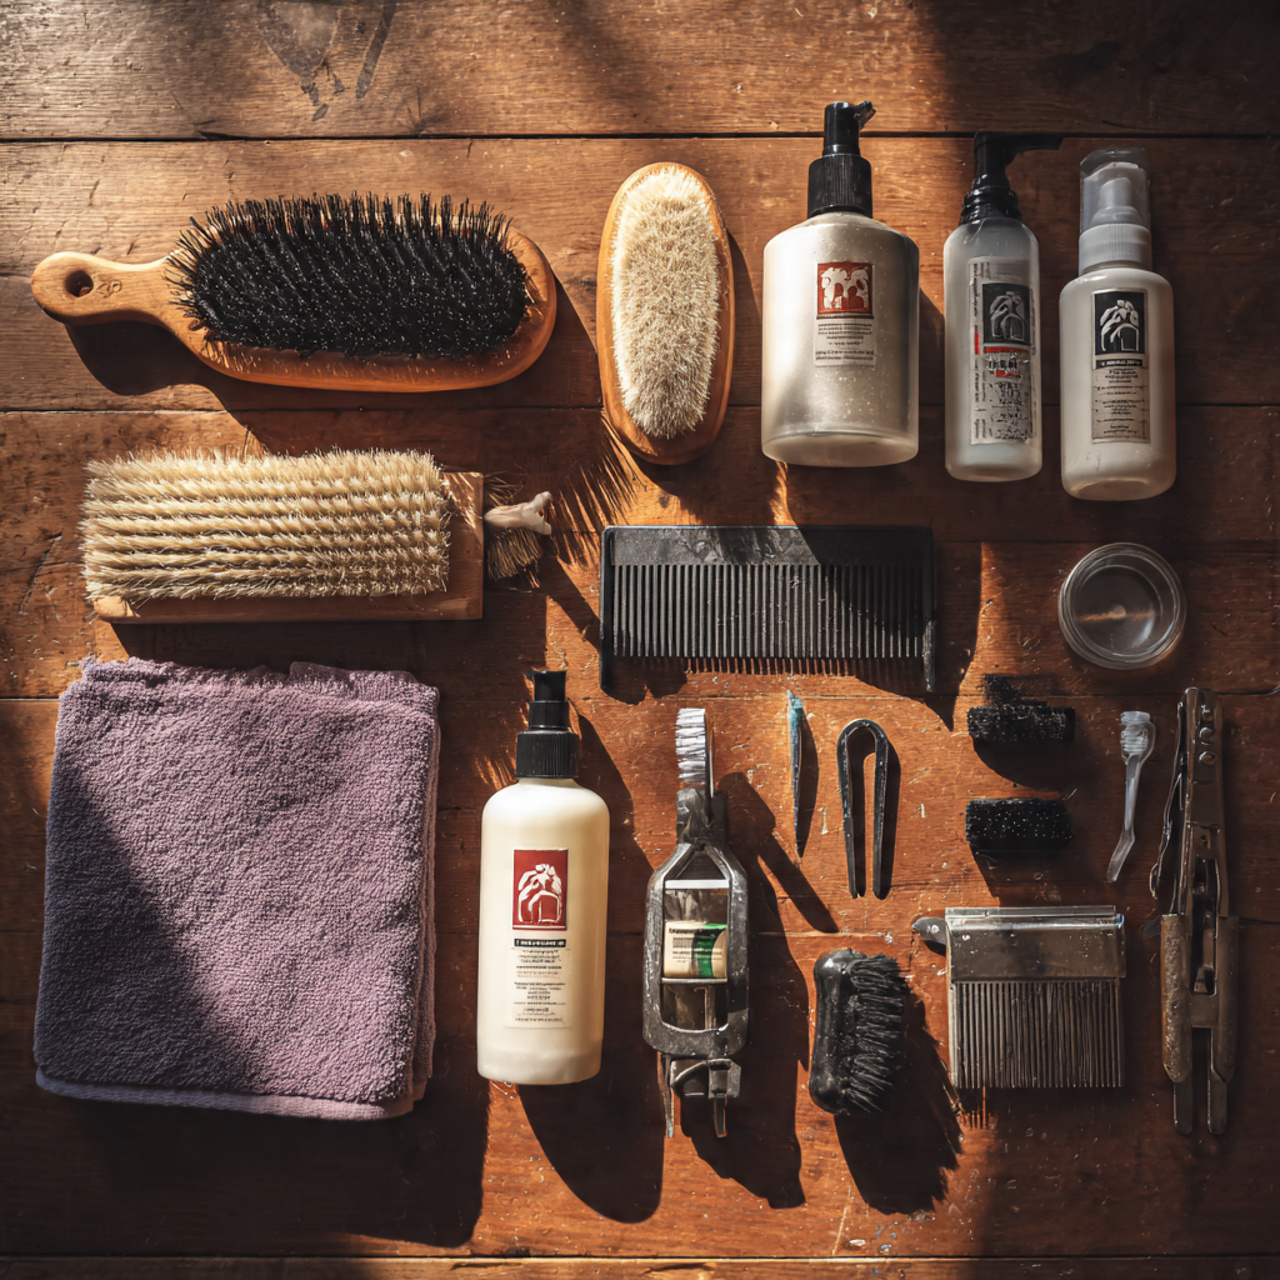
Before you dive in, you’ll need the right tools. The good news? You don’t need to buy everything at once.
Start With The Basics
Brushes and combs are your foundation. The type you need depends on your dog’s coat:
- Slicker brushes work great for most coat types
- Pin brushes are perfect for long, flowing coats
- Bristle brushes suit short-haired breeds
- Undercoat rakes help with double-coated dogs during shedding season
Nail care tools come down to personal preference. Nail clippers (guillotine or scissor style) are traditional and affordable. Nail grinders are quieter and let you work more gradually, which some dogs prefer. I personally love grinders because there’s less risk of cutting too much at once.
Bathing supplies should be dog-specific:
- Dog shampoo (never use human shampoo, the pH is wrong)
- Conditioner for long-haired breeds
- Several absorbent towels
- A non-slip mat for the tub
Ear cleaning supplies are simple. You just need a good ear cleaning solution made for dogs and some cotton balls or gauze pads. Never use cotton swabs in your dog’s ears.
Dental care items include a dog toothbrush (or finger brush) and dog toothpaste. Human toothpaste is toxic to dogs, so this is non-negotiable.
Building Your Kit On A Budget
You don’t need to drop $200 on day one. Start with a good brush, dog shampoo, and nail clippers. Add other items as you get comfortable with the basics. I built my grooming kit over about six months, buying one or two items each month.
2. Understanding Your Dog’s Coat Type and Grooming Needs
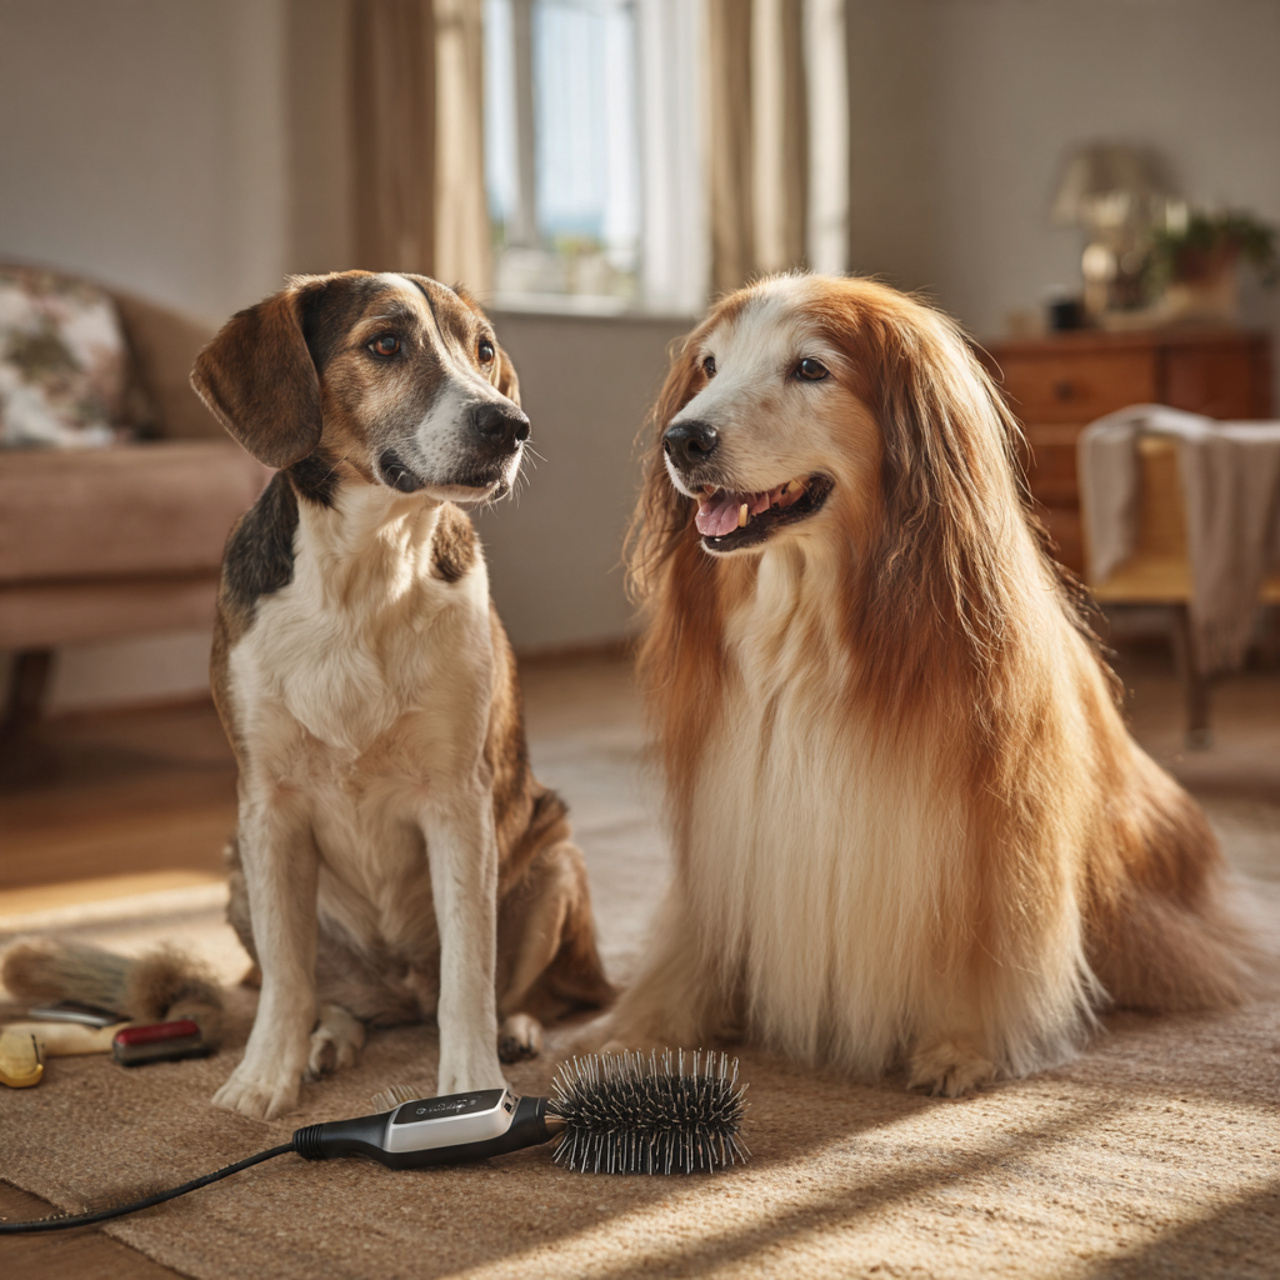
Your dog’s coat type determines almost everything about your grooming routine.
Short-Haired Breeds Are The Easiest
Breeds like Beagles, Boxers, and Pit Bulls need minimal grooming. A quick brush once or twice a week and a bath every 6-8 weeks usually does the trick. Their coats dry quickly and don’t mat.
Long-haired Breeds Need Daily Attention
Golden Retrievers, Collies, and Afghan Hounds require daily brushing to prevent mats and tangles. Neglect this, and you’ll end up with painful mats that might need to be shaved out. Trust me, prevention is way easier than cure.
Double-coated Dogs Have Special Needs
Huskies, German Shepherds, and Malamutes have a soft undercoat beneath their guard hairs. They “blow” their coat twice a year, shedding massive amounts. During these times, daily brushing with an undercoat rake is essential.
Curly and Wiry Coats Require Different Techniques
Poodles and many Terriers have hair that keeps growing and doesn’t shed much. These breeds need regular haircuts every 6-8 weeks and careful brushing to prevent matting.
Why This Matters
Understanding your dog’s coat helps you set realistic expectations. A Husky owner shouldn’t expect the same grooming routine as a Poodle owner, and that’s perfectly okay.
3. Step-by-Step Guide to Brushing Your Dog
Brushing is the foundation of good grooming, and it always comes before bath time.
Why Brush Before Bathing?
Water turns mats into concrete. Seriously, a small tangle becomes a tight, impossible knot when wet. Always brush first, no exceptions.
The Right Technique Makes All The Difference
Start at your dog’s head and work backward. Use gentle, consistent strokes in the direction of hair growth. Don’t just skim the surface, you need to get down to the skin to remove loose undercoat and prevent mats.
Working Through Tangles Safely
When you hit a mat, don’t yank or pull. Hold the hair close to the skin (so you’re not pulling on their skin) and gently work through the tangle with your fingers or a mat splitter. If it’s really bad, you might need to carefully cut it out with scissors.
Make it Enjoyable
My dog used to hate being brushed until I started giving him high-value treats during sessions. Now he actually brings me his brush. Use lots of praise, take breaks if needed, and keep early sessions short.
- Brushing frequency guide
- Short coats: 1-2 times per week
- Medium coats: 2-3 times per week
- Long coats: Daily
- Double coats: Daily during shedding season, 2-3 times weekly otherwise
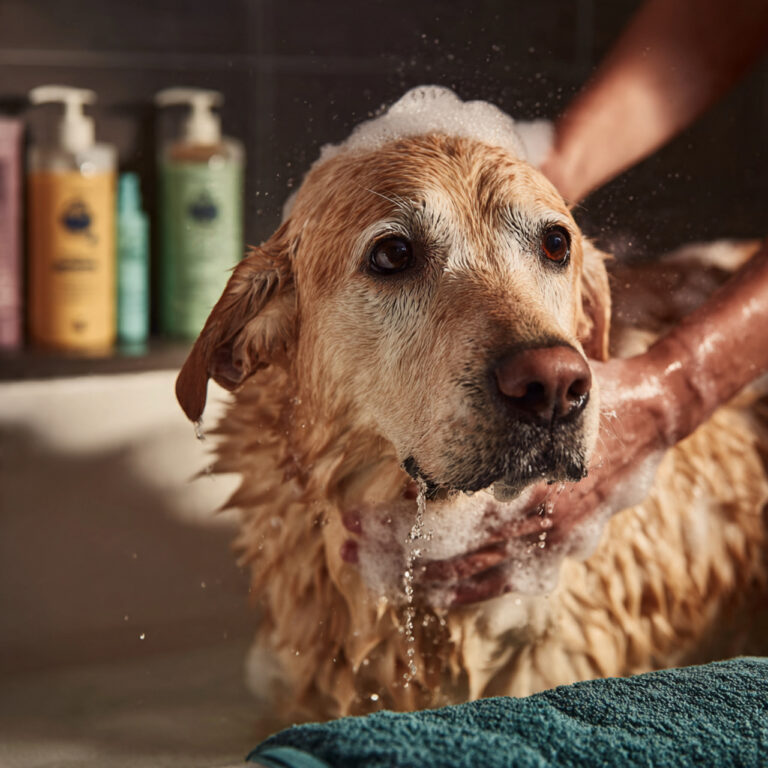
4. How to Bathe Your Dog at Home Like a Pro
Bath time doesn’t have to be a wrestling match. Preparation is everything.
Get Everything Ready First
Before you get your dog wet, gather everything you’ll need:
- Shampoo and conditioner
- Multiple towels
- A cup for rinsing (or a detachable shower head)
- Treats for rewards
- Non-slip mat
Nothing’s worse than having a soapy dog and realizing the shampoo is in another room.
Water Temperature Matters
Test the water on your wrist, just like you would for a baby. It should be lukewarm, never hot. Dogs are more sensitive to heat than we are.
The Bathing Process Step By Step
STEP 1: Wet your dog thoroughly, starting from the neck and working backward. Really saturate the coat, this takes longer than you’d think, especially on thick-coated breeds.
STEP 2: Apply shampoo and work it into a good lather. Don’t forget the belly, legs, paws, and under the tail. Be careful around the face, use a washcloth for that area.
STEP 3: Rinse, and then rinse some more. Leftover shampoo irritates skin and attracts dirt. When you think you’re done rinsing, rinse for another minute.
STEP 4: If you’re using conditioner (great for long coats), apply it, let it sit for a minute or two, then rinse thoroughly again.
Drying Your Dog Properly
Towel dry as much as possible. If you’re using a blow dryer, keep it on the cool or low setting and hold it at least 6 inches away from their skin. Some dogs are terrified of blow dryers, so towel drying works fine too, it just takes longer.
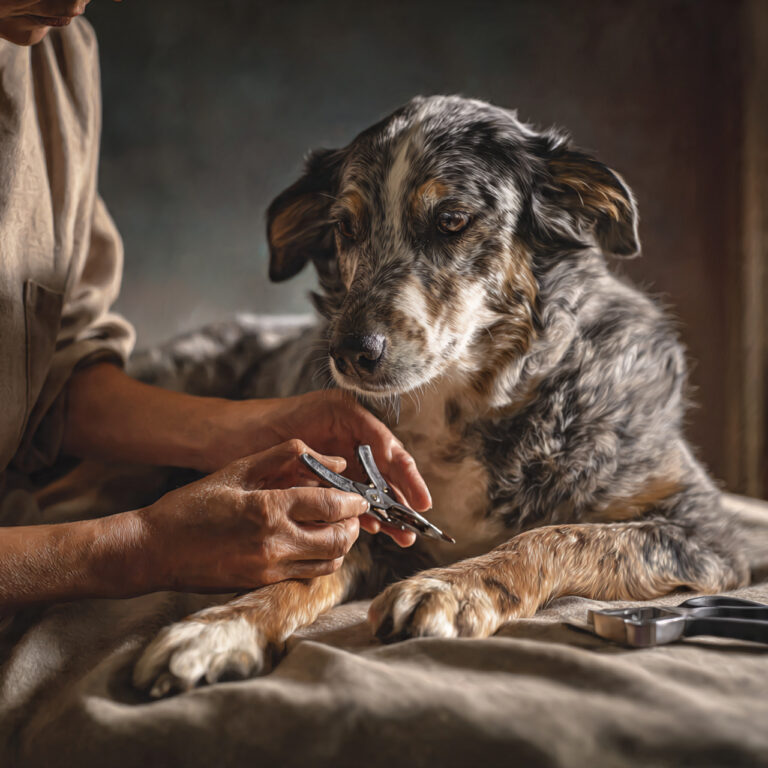
5. Nail Trimming Without the Drama

Nail trimming is probably the grooming task most owners dread, but it doesn’t have to be scary.
Why It’s So Important
Long nails can cause pain, affect your dog’s gait, and even lead to joint problems over time. They can also crack or break, which is painful and can get infected.
Understanding The Quick
The quick is the living part of the nail that contains blood vessels and nerves. On light-colored nails, you can see it as a pink area. On dark nails, it’s harder to spot, so you need to be extra careful and trim just tiny bits at a time.
The Clipping Technique
Hold your dog’s paw firmly but gently. Identify where the quick ends (or make your best guess on dark nails). Cut at a 45-degree angle, taking off just a small amount. It’s better to trim more frequently and take less off than to risk cutting the quick.
The Nail Grinder Alternative
I switched to a grinder after accidentally cutting the quick once too often. You gradually file down the nail, which gives you more control. The vibration and noise can be scary at first, so introduce it slowly with lots of treats.
How Often To Trim
Most dogs need nail trims every 3-4 weeks. If you can hear their nails clicking on hard floors, they’re too long.
6. Cleaning Your Dog’s Ears Safely
Ear cleaning is straightforward once you know what you’re doing.
What Healthy Ears Look Like
Healthy ears are pale pink, have no strong odor, and contain minimal wax. A little bit of light brown wax is normal.
Red Flags That Need A Vet
If you see redness, swelling, a yeasty smell, lots of dark discharge, or if your dog is constantly scratching at their ears, skip the cleaning and call your vet. These are signs of infection.
The Cleaning Process
Squeeze cleaning solution into the ear canal (yes, really in there, you won’t hurt them). Massage the base of the ear for 20-30 seconds, you’ll hear a squishy sound. Let your dog shake their head, this brings debris up and out. Wipe the outer ear and visible canal with cotton balls or gauze.
Never Go Deep
Only clean what you can see. Never stick anything down into the ear canal. You could damage their eardrum or push debris further in.
Frequency Depends On The Dog
Dogs with floppy ears or dogs who swim a lot might need weekly cleaning. Dogs with upright ears and no issues might only need cleaning monthly or even less often.
7. Dental Care: Brushing Your Dog’s Teeth at Home
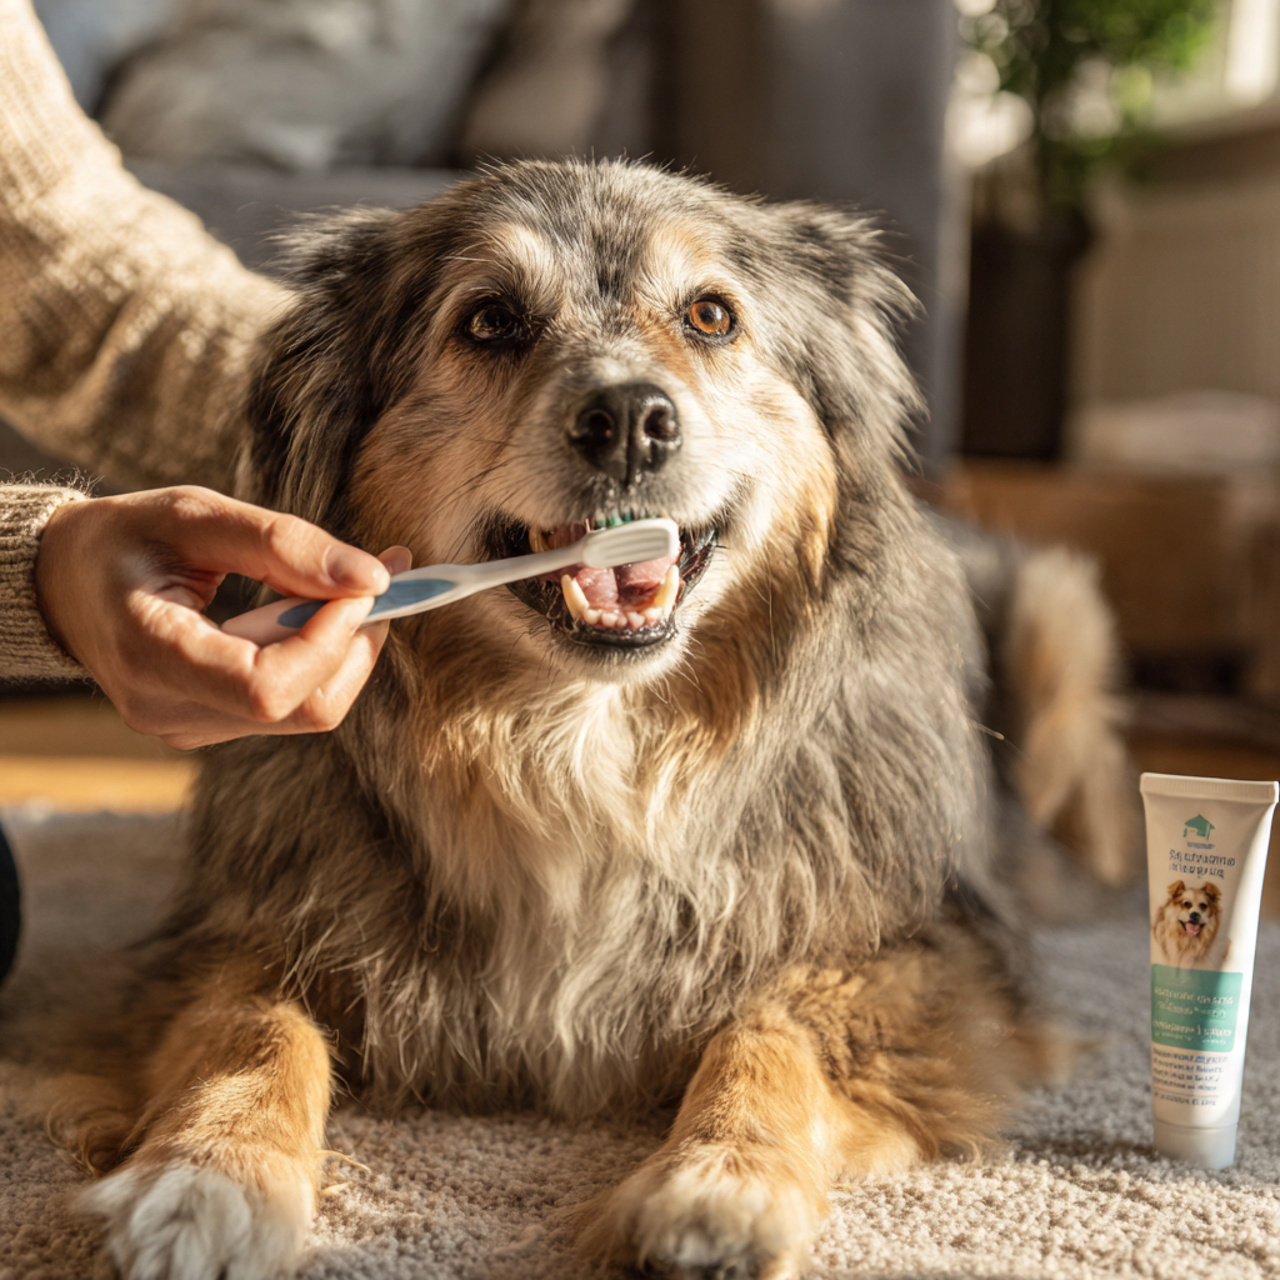
Most people skip this, but dental care is crucial for your dog’s overall health.
Why it Matters So Much
Dental disease is incredibly common in dogs and can lead to serious health problems. Bacteria from infected gums can enter the bloodstream and affect the heart, liver, and kidneys.
Getting started with tooth brushing
Don’t just shove a toothbrush in your dog’s mouth on day one. Start by letting them lick dog toothpaste off your finger. It tastes good to them, usually like chicken or beef. Once they’re comfortable, introduce the toothbrush.
The Brushing Technique
Lift your dog’s lip and brush in gentle circular motions, focusing on the gum line where plaque builds up. You don’t need to brush the inside surfaces as much, their tongue does a decent job there. Focus on the outside of the teeth, especially the back molars.
How Often Is Ideal?
Daily is best, but even 3-4 times per week makes a huge difference. I brush my dog’s teeth while I’m brushing mine in the morning, it’s become part of our routine.
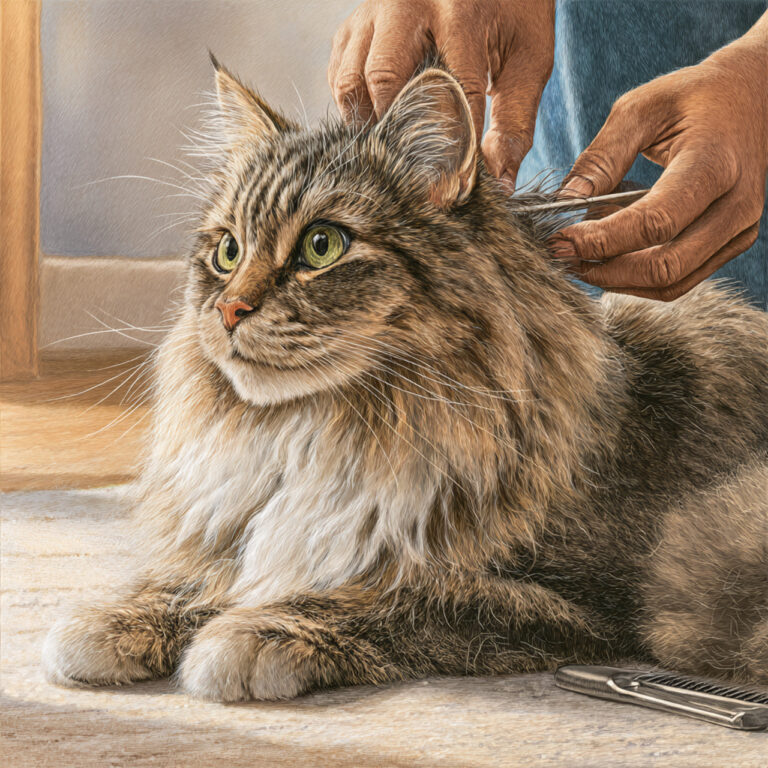
8. Trimming and Styling Your Dog’s Coat
Some trimming you can handle at home, other cuts are better left to professionals.
When Trimming Is Necessary
Trimming around your dog’s eyes improves their vision and prevents irritation. Paw pad hair should be trimmed to prevent slipping and collecting debris. The sanitary area (around the rear end) needs trimming for hygiene.
Basic Scissor Safety
Always use blunt-tipped scissors near sensitive areas. Cut parallel to the skin, never point scissors directly at your dog. Work slowly and take breaks if your dog gets restless.
Simple Clipper Tips For Beginners
If you’re using clippers, go with the grain (direction of hair growth) for your first attempts. Use a longer guard at first, you can always take more off. Keep clippers cool, they can heat up and burn skin.
What to Leave To The Pros
Full haircuts, especially breed-specific styles, are best done by professionals until you’ve had more practice. If your dog needs their anal glands expressed or has severe matting, that’s also professional territory.
Conclusion
Grooming your dog at home is a skill that gets easier with every session. Start with the basics, brushing and bathing, and gradually add other tasks as you both get comfortable. Remember, it’s not about perfection. Your dog doesn’t care if their haircut isn’t Instagram-worthy, they just care that you’re spending time with them.
The bond you’ll build during grooming sessions is special. My dog used to run away when I pulled out the brush, now he actually falls asleep during brushing sessions. That transformation didn’t happen overnight, it came from patience, treats, and making grooming a positive experience.